
![]() This functionality is available for PRO version.
This functionality is available for PRO version.
Integrating the WP Hide PRO plugin with a website hosted on CloudPanel can significantly enhance your WordPress security by obscuring your website’s source code, making it more difficult for potential attackers to exploit. To ensure seamless integration and optimal performance, follow the detailed guide below.
Step 1: Install the WP Hide PRO Plugin
Start by installing the WP Hide PRO plugin on your WordPress website. For a step-by-step installation guide, refer to the official documentation at WP Hide Installation Guide. This guide will walk you through downloading the plugin, uploading it to your WordPress site, and activating it.
Step 2: Adding the License Key and Configuring the Plugin Settings
Proceed to activate your WP Hide PRO license. Go to the plugin’s settings within your WordPress dashboard, enter the license key, and validate it. This step unlocks the full range of features that WP Hide PRO offers.
Next, customize the plugin’s settings according to your site’s security needs. WP Hide PRO offers a variety of features such as hiding the WordPress login page, changing plugin and theme directories, and more. Tailor these settings to obscure identifiable elements of your WordPress site, effectively reducing exposure to common WordPress-specific attacks.
For a comprehensive understanding of the available options and features that are most suitable for your site, we highly recommend exploring the Documentation area and reviewing the related Articles. These resources provide in-depth insights, detailed explanations, and step-by-step guides that will help you make the most of the plugin’s capabilities. Whether you are configuring basic settings or advanced features, these references will equip you with the knowledge needed to effectively implement and optimize the plugin’s functionality for your specific needs.
Step 3: If the ‘Unable to Launch WP Hide’ Notice show up
After installation, you may encounter a notice stating: “Unable to launch WP Hide through mu-plugins/wp-hide-loader.php.” This issue typically arises because the plugin’s loader script wasn’t automatically deployed. To resolve this, you need to manually place the loader file in the correct directory.

- Locate the file
wp-hide-loader.phpwithin the/wp-content/plugins/wp-hide-security-enhancer-pro/mu-loader/directory of the plugin’s folder. - Using the CloudPanel File Manager, navigate to the
/wp-content/mu-plugins/directory on your server.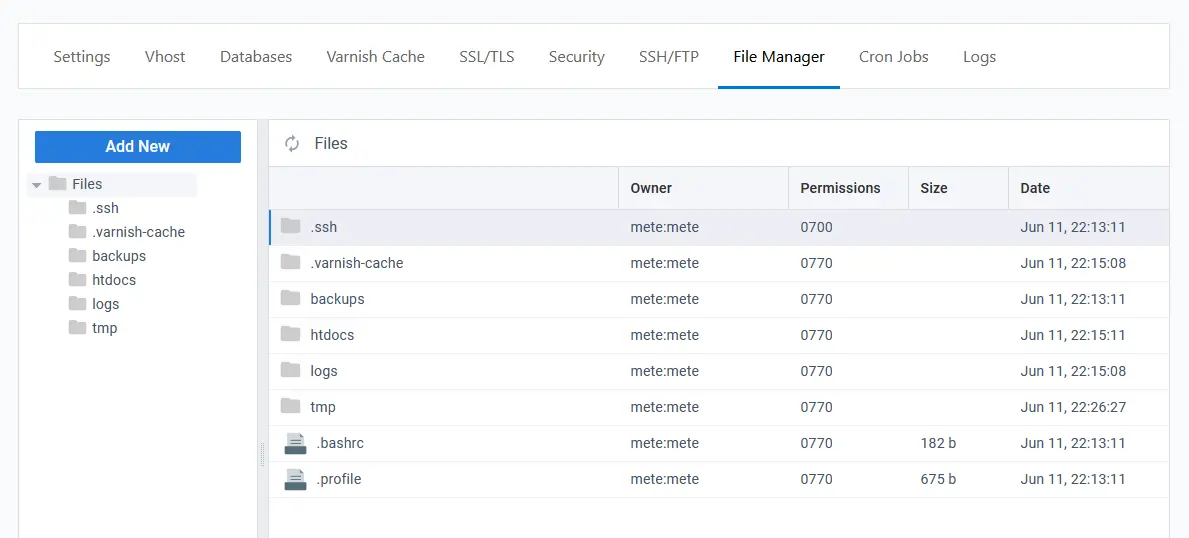
- Upload the
wp-hide-loader.phpfile to this directory.
This step ensures the plugin can load its functionalities correctly across the WordPress installation.
Step 4: Deploying Custom Nginx Rewrite Rules
WP Hide PRO automatically generates a tailored set of Nginx rewrite rules based on the adjustments made in the plugin’s settings. To ensure these changes are effective, the generated rules need to be deployed on your server. Whenever updates to these rewrite rules are necessary, a red indicator will appear in the WP Hide > Setup menu, alerting you to deploy the updated rules on the server side to maintain optimal functionality.
Follow these steps to implement them:
- Navigate to WP Hide > Setup in your WordPress dashboard. Here, you’ll find the generated Nginx rewrite rules.
- Copy these rules to your clipboard.
- Log into your CloudPanel dashboard.
- Go to CloudPanel > Vhost settings.
-
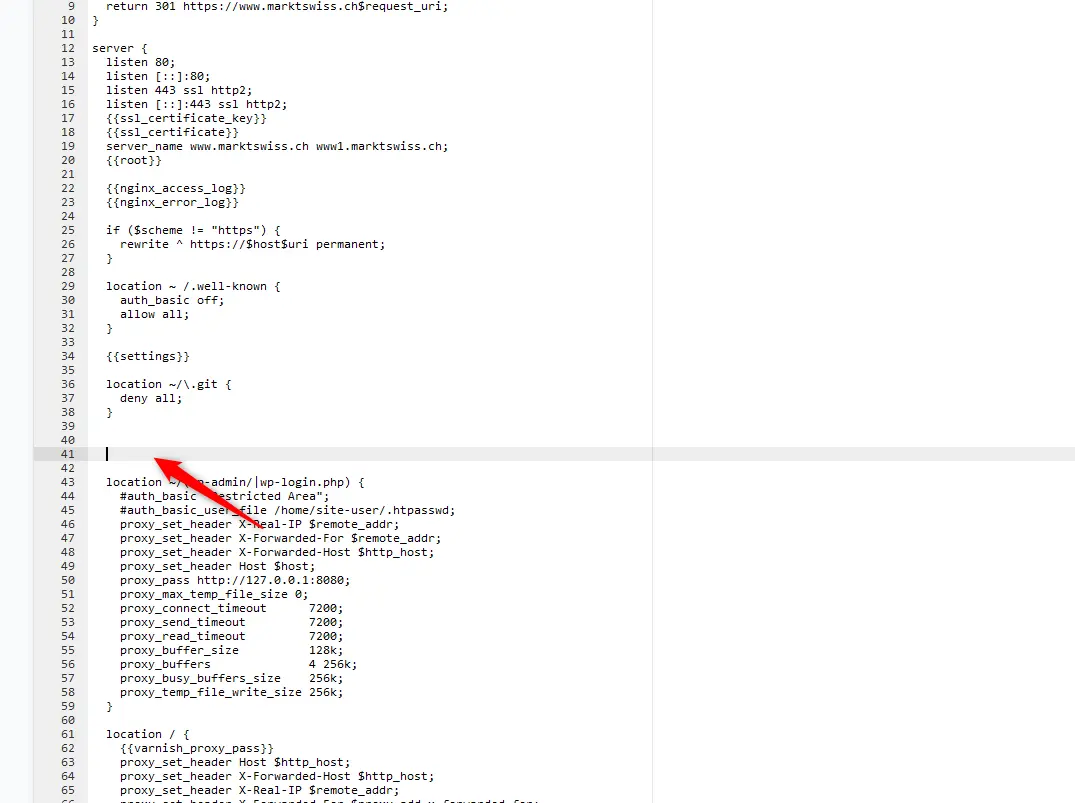
- Paste the copied rewrite rules in the appropriate section, ensuring that you place them near the highlighted area as shown in your CloudPanel (see reference image).
- After pasting the rules, save the changes through the CloudPanel interface.
- Return to WP Hide > Setup interface and click the Confirm button.
Step 5: Clear Caches and Verify Site Functionality
After deploying the Nginx rules, it’s essential to clear all caches to ensure that the changes are fully applied across your site. This includes:
- The site’s internal cache (if using a caching plugin).
- Any server-side cache managed by CloudPanel.
- Any CDN (Content Delivery Network) cache if your site uses one.
Once caches are cleared, thoroughly check the frontend of your website to ensure that everything is functioning correctly.
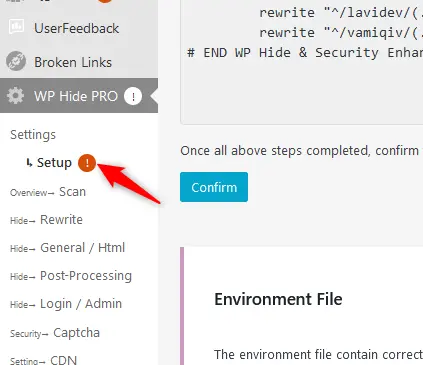
Step 6: Handling Rewrite Updates
WP Hide PRO is dynamic; whenever you make changes to the settings, the Nginx rewrite rules may need updating. The plugin is designed to notify you when this occurs. A red dot will appear within the plugin interface, indicating that the rewrite rules have been modified and need to be re-deployed on the server (see reference image).
To update the rules:
- Repeat the process described in Step 4: copy the new rewrite rules from the WP Hide setup page and replace the existing ones in the CloudPanel’s Vhost section.
- Save the changes, Confirm through the plugin Setup interface, then clear all caches again.
Step 7: Final Testing and Validation
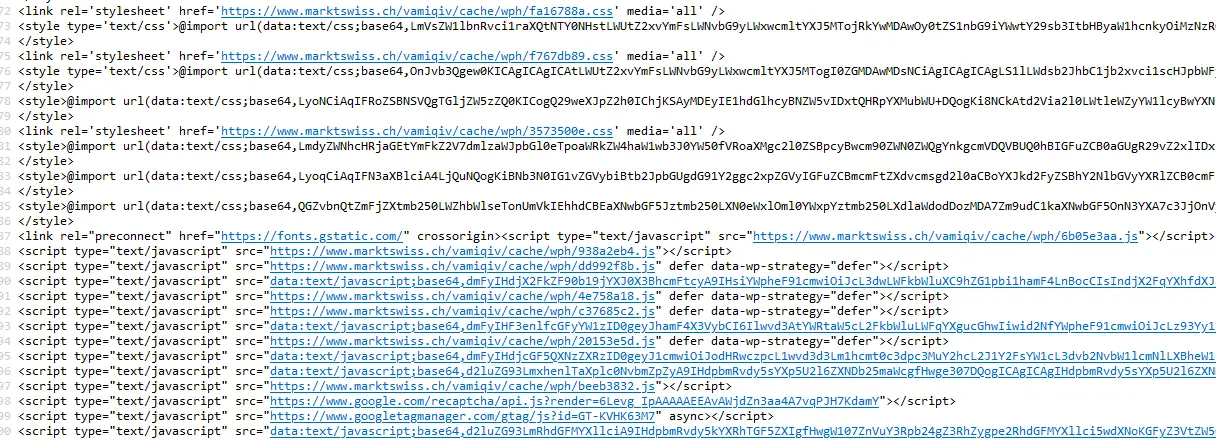
After making any updates or changes, always test the frontend of your site. Ensure that your customized URLs and other settings work as intended. Additionally, if you’ve used the PostProcessing with Replacements feature in WP Hide, verify that the output appears encrypted.
 Integrating WP Hide PRO with a CloudPanel-hosted WordPress site involves several key steps, from initial installation and manual loader deployment to configuring Nginx rules and handling updates. By following this guide, you can enhance your website’s security, making it harder for malicious actors to exploit your site. Remember, always test your changes thoroughly to maintain site performance and reliability. Regularly updating your settings and clearing caches ensures that the plugin’s security features are fully effective, giving you peace of mind that your site is well-protected.


